This is a Mini- Booklet I made same with using the one sheet of paper. I turned it on its side so that it "flipped up" to open. This way the pockets were on the side and I could slip in some tags. I was trying out new ideas, and I was itching to use the stamp "10 things" and this is how I put it to work.

I LOVE how it turned out!!
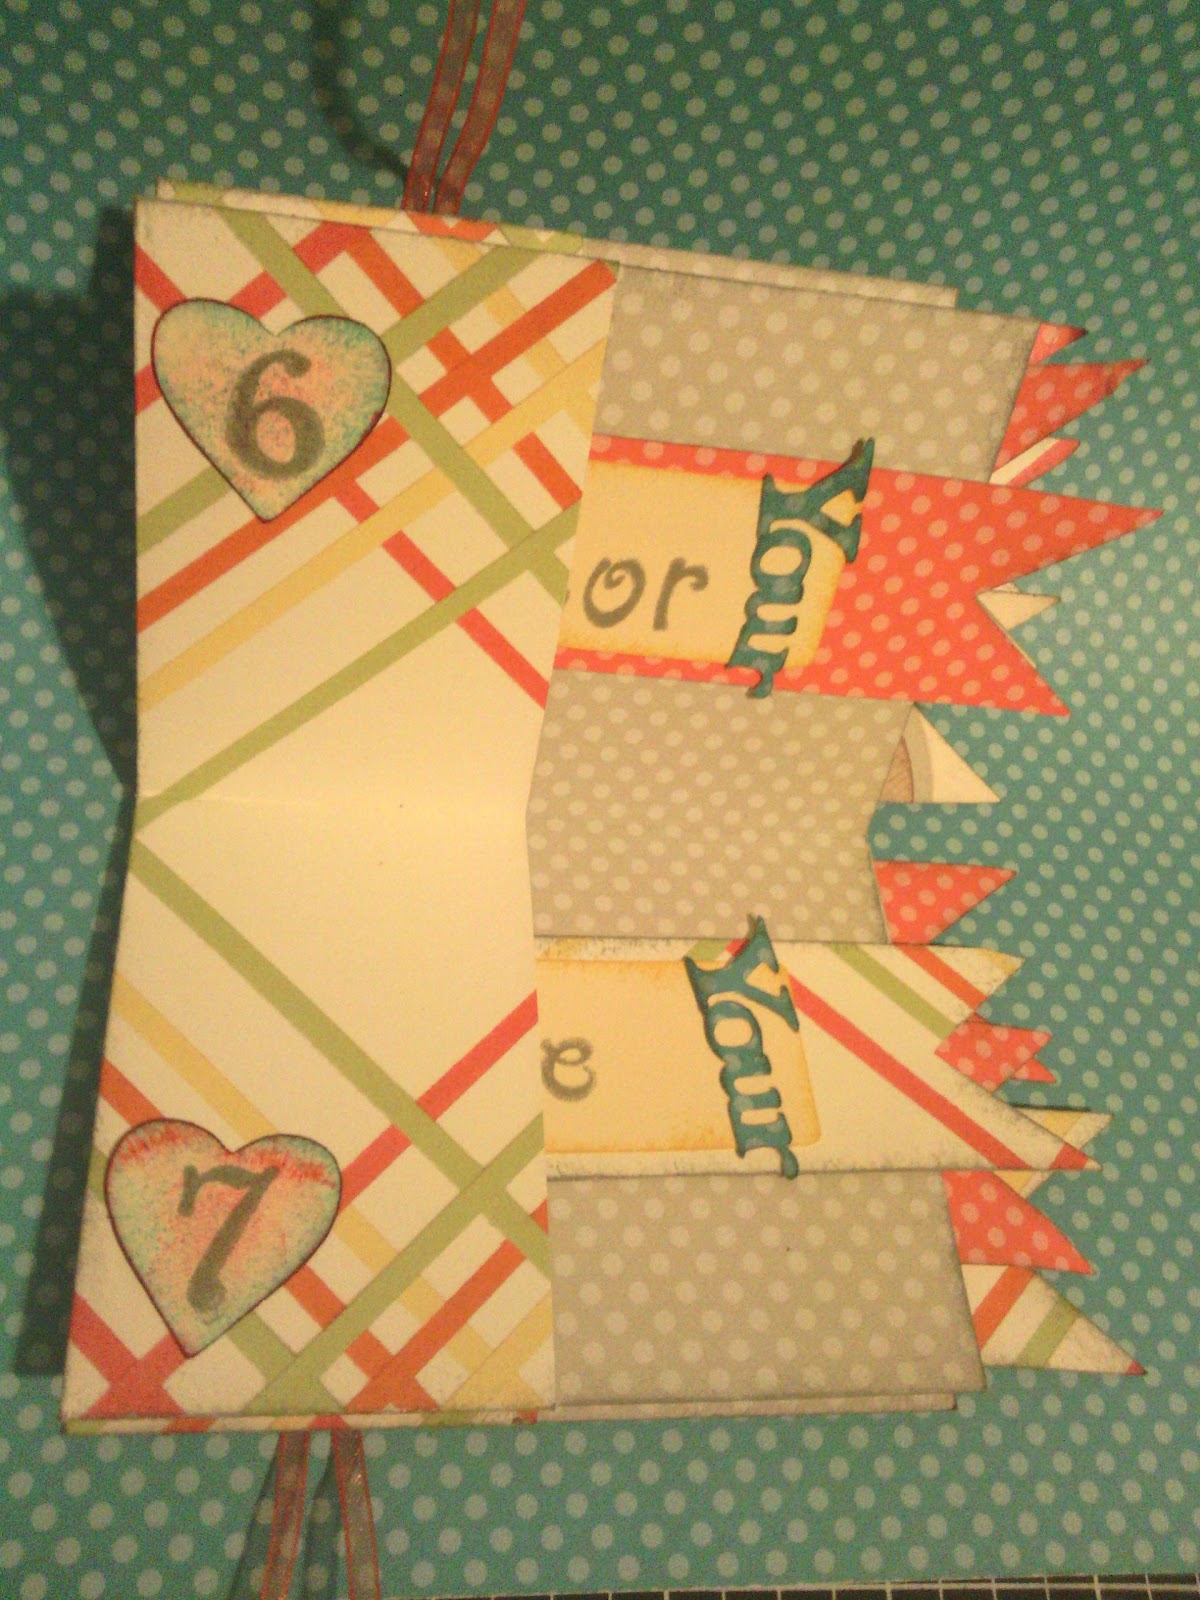
For the inside I used my AP cartridge to cut out the "tags" and the hearts for the numbers.
Since the stamp is "10" things... and the booklet only has 8 pockets I had to double up on 2 pockets, but it worked out GREAT!

Here is a close up of a few of the tags I made. the word "your" was also cut out with the AP cartridge. I used the Cricut Craft Room (CCR) to weld the letters together. This way I only had to peel off individual words, rather than each individual letter...can you imagine!!

Finally I used a ribbon to hold it together, I glued it to the back and front covers and tied a bow.
Check out the video tutorial on how to create your own mini-booklet.
It's posted under video tutorials OR in the previous Mini-Booklet post.
ENJOY!
No comments:
Post a Comment